
Hi and welcome to Octobers John Letters Workshop Blog
This month we would like to show how we do some advanced club assembly to meet the needs of tour players. In this case we will run through how we recently assembled some new wedges for JL Staff Player Phil Archer.
The Brief
Phil did some wedge testing at our technical facility in Huddersfield, West Yorkshire recently. Both the MM Grind and Tour Black wedges were tried in a variety of shaft options. Between Phil and our Club Technician it was decided that the Tour Black model with Dynamic Gold Spinner shafts would suit the best.
The Spinner shaft as the name suggests is designed to create more spin, potentially up to 700rpm more. This is due to a special section of the shaft that helps to create more 'bite' from the grooves on the wedge face. The Tour Black wedge head is designed to easily sweep through the turf on shots. Hopefully this shaft and head combination can help Phil with his control into the green.
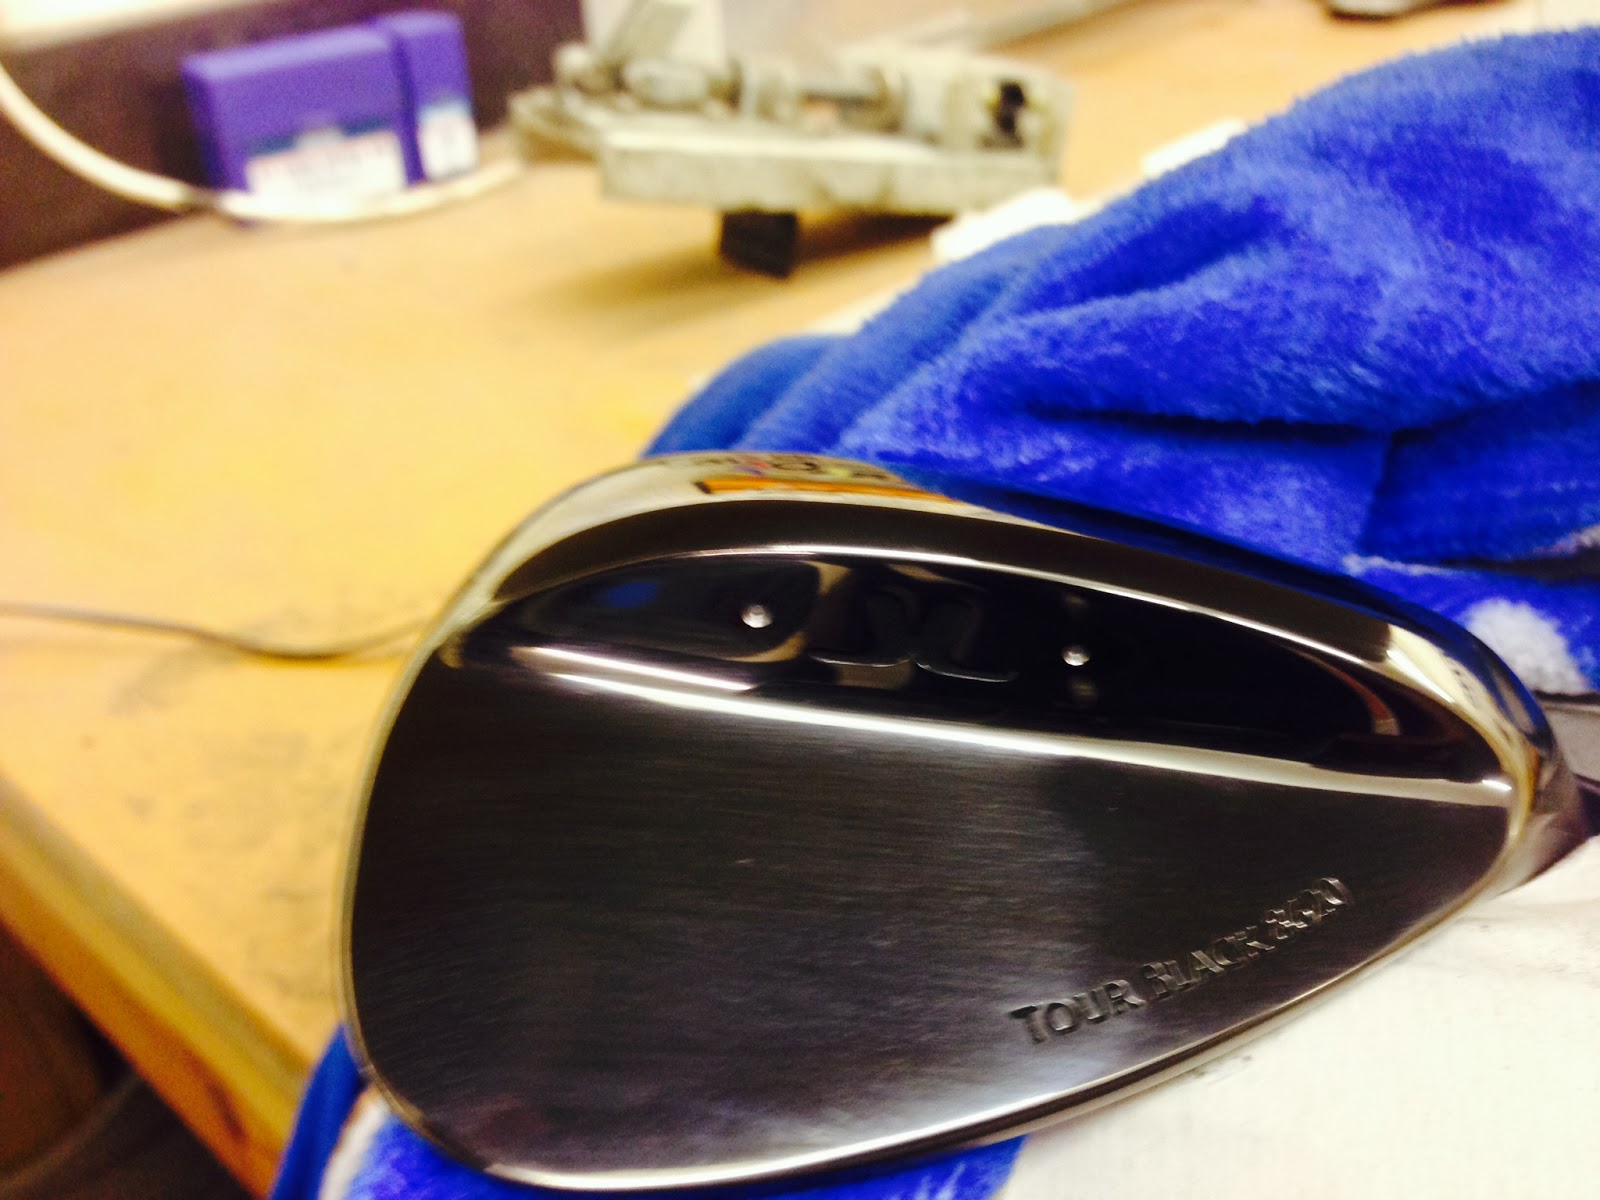
Phil requested wedges in lofts of 52 and 58 degree made to a D3 swingweight. He uses the Tour Velvet grip with reminder and 2 extra layers of tape. A reminder grip contains a ridge down the back which some players prefer as it helps with their hand alignment.
Club Assembly
The D3 swingweight provides a challenge to our club technicians as this is lighter than our standard wedge swingweights of D4 (52) and D6 (58). The Spinner shafts also add to the problem as they increase the weight in the head. Having picked our lightest wedge heads available we were still faced with a dry assembly swing weight (i.e. no parts glued together) of D5.6 in the 52 and D5.5 in the 58.
 A note on swingweight - There is an overall club weight and then there is swingweight. If you look at any manufacturers spec sheets on irons and woods there will be a column detailing swingweight. This is in basic terms the distribution of weight in the golf club. Think of a seesaw and the difference of weight distribution as people of different weight use it. Swingweight can be manipulated within a golf club by either adding or decreasing weight at the butt of the shaft or at the shaft tip/clubhead. Its generally good standard golfers and tour players that can notice subtle swingweight changes. Many tour players have their irons and woods 'swingweight matched'. This means they have the same swingweight throughout for consistent feel through the swing.
Having discussed our options with Phil it was agreed that we would drill holes in the back of the wedge heads to make them lighter. This is quite a common procedure on tour but is not something that you see often in retail.
First of all we weigh the club head to see how many grams we need to lose. One swingweight is equivalent to 2 grams so we need to drill out 2 swingweights from both heads which is 4 grams.

Secondly we tap some pilot holes where we want the port holes to be drilled out. The weight needs taking evenly from each side of the head so as not to create a weight imbalance.
We then drill into these pilot holes with a 5mm hardened HSS steel drill bit. There is a fair bit of resistance even with these drill bits and the head material being a relatively soft 8620 forged metal.
Initially we create two holes and then re-check the weight of the club head. From there we drill two more shallow ports and regularly check both the head weight and the dry assembled swingweight as we continue to drill. If more weight needs to be removed we up the drill bit to firstly 5.5mm and then 6mm.

Once we have the correct head weight and therefore a swing weight of D3 we need to look at tidying the drill holes. The entry point to each hole becomes frayed and has sharp edges, these need smoothing out.

To smooth out the frayed edges we use a medium grit belt. This is a key part of the assembly process, very carefully we evenly smooth out the frayed holes. As the belt comes into contact with the head it removes the black PVD finish, it takes some skill and precision to ensure that this is kept to a minimum and does not disfigure the cosmetics. We next use a fine grit belt on the same area to create a smoother grind and a better finish. After the grinding is done we again check the head weight and swingweight.

As a final flourish we stamp 'ARCH' onto Phil's wedges and also custom colour all text in silver. This complements the area which we grinded which became silver after the PVD black finish was ground off.
The wedge head is now ready for assembly. We shaft it up with the Spinner shaft and Tour Velvet grip.
A final assembled check on the swingweight ensures that the club will play at the requested D3 swing weight. The clubs are then shipped out to Phil for testing.


No comments:
Post a Comment